Labor Day Weekend officially started football season. College Football on Saturdays~GO NOLES!!!!!! And NFL on Sundays!!!! Go Jameis Winston!!!!
And with that means FOOTBALL FOOD! Chips and Dip, burgers, tacos and more!!! Not to mention all those yummy desserts that can be eaten by hand. I love football, but the food is the real star of the show for me. Our football food season made its debut with a taco salad dip.
This was a quick and easy meal but full of yumminess. And you can customize it.
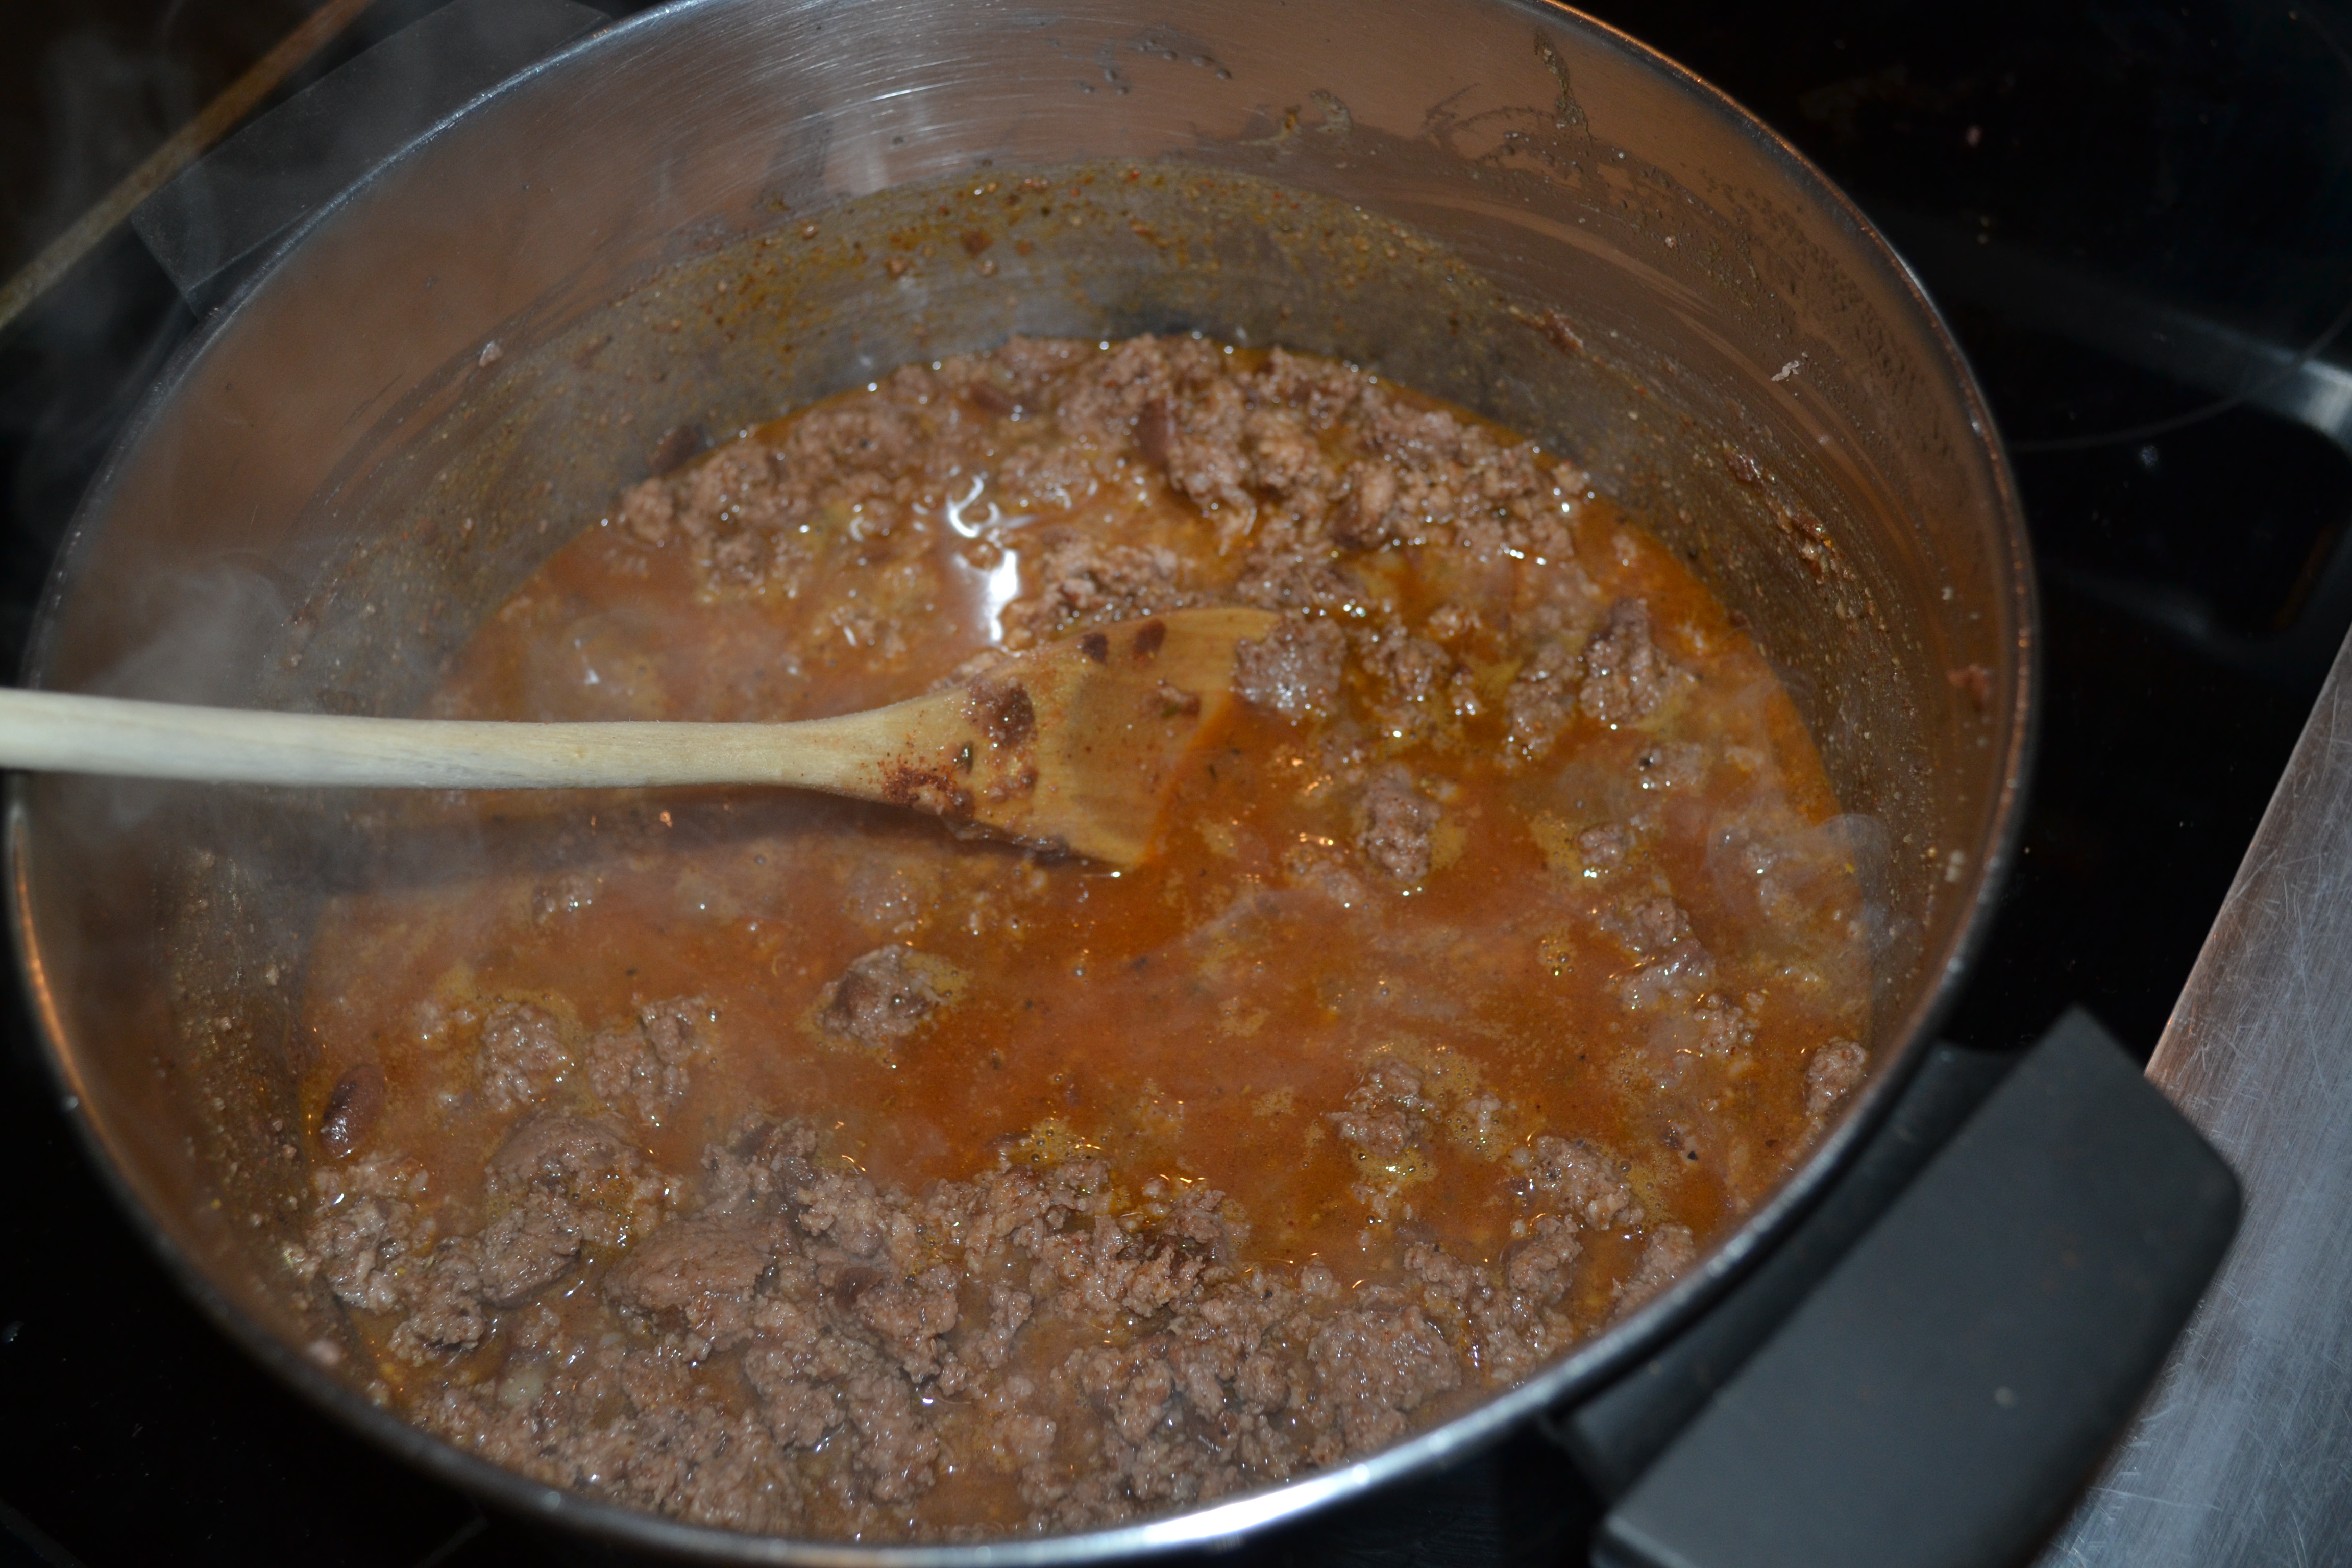
Cook your hamburger and drain. Add in taco seasoning (according to package directions) or add a can of enchilada sauce. Whatever you prefer to spice up your taco meat. I added a can of enchilada sauce and some homemade refried beans. It was delicious.
While that’s simmering away, shred up your cheese. Until your cheese grater breaks.

OH well, it lasted a good 15 years. Anyways, I used Monterey this time around. But really it’s whatever you have on hand or prefer.
Assembly time!
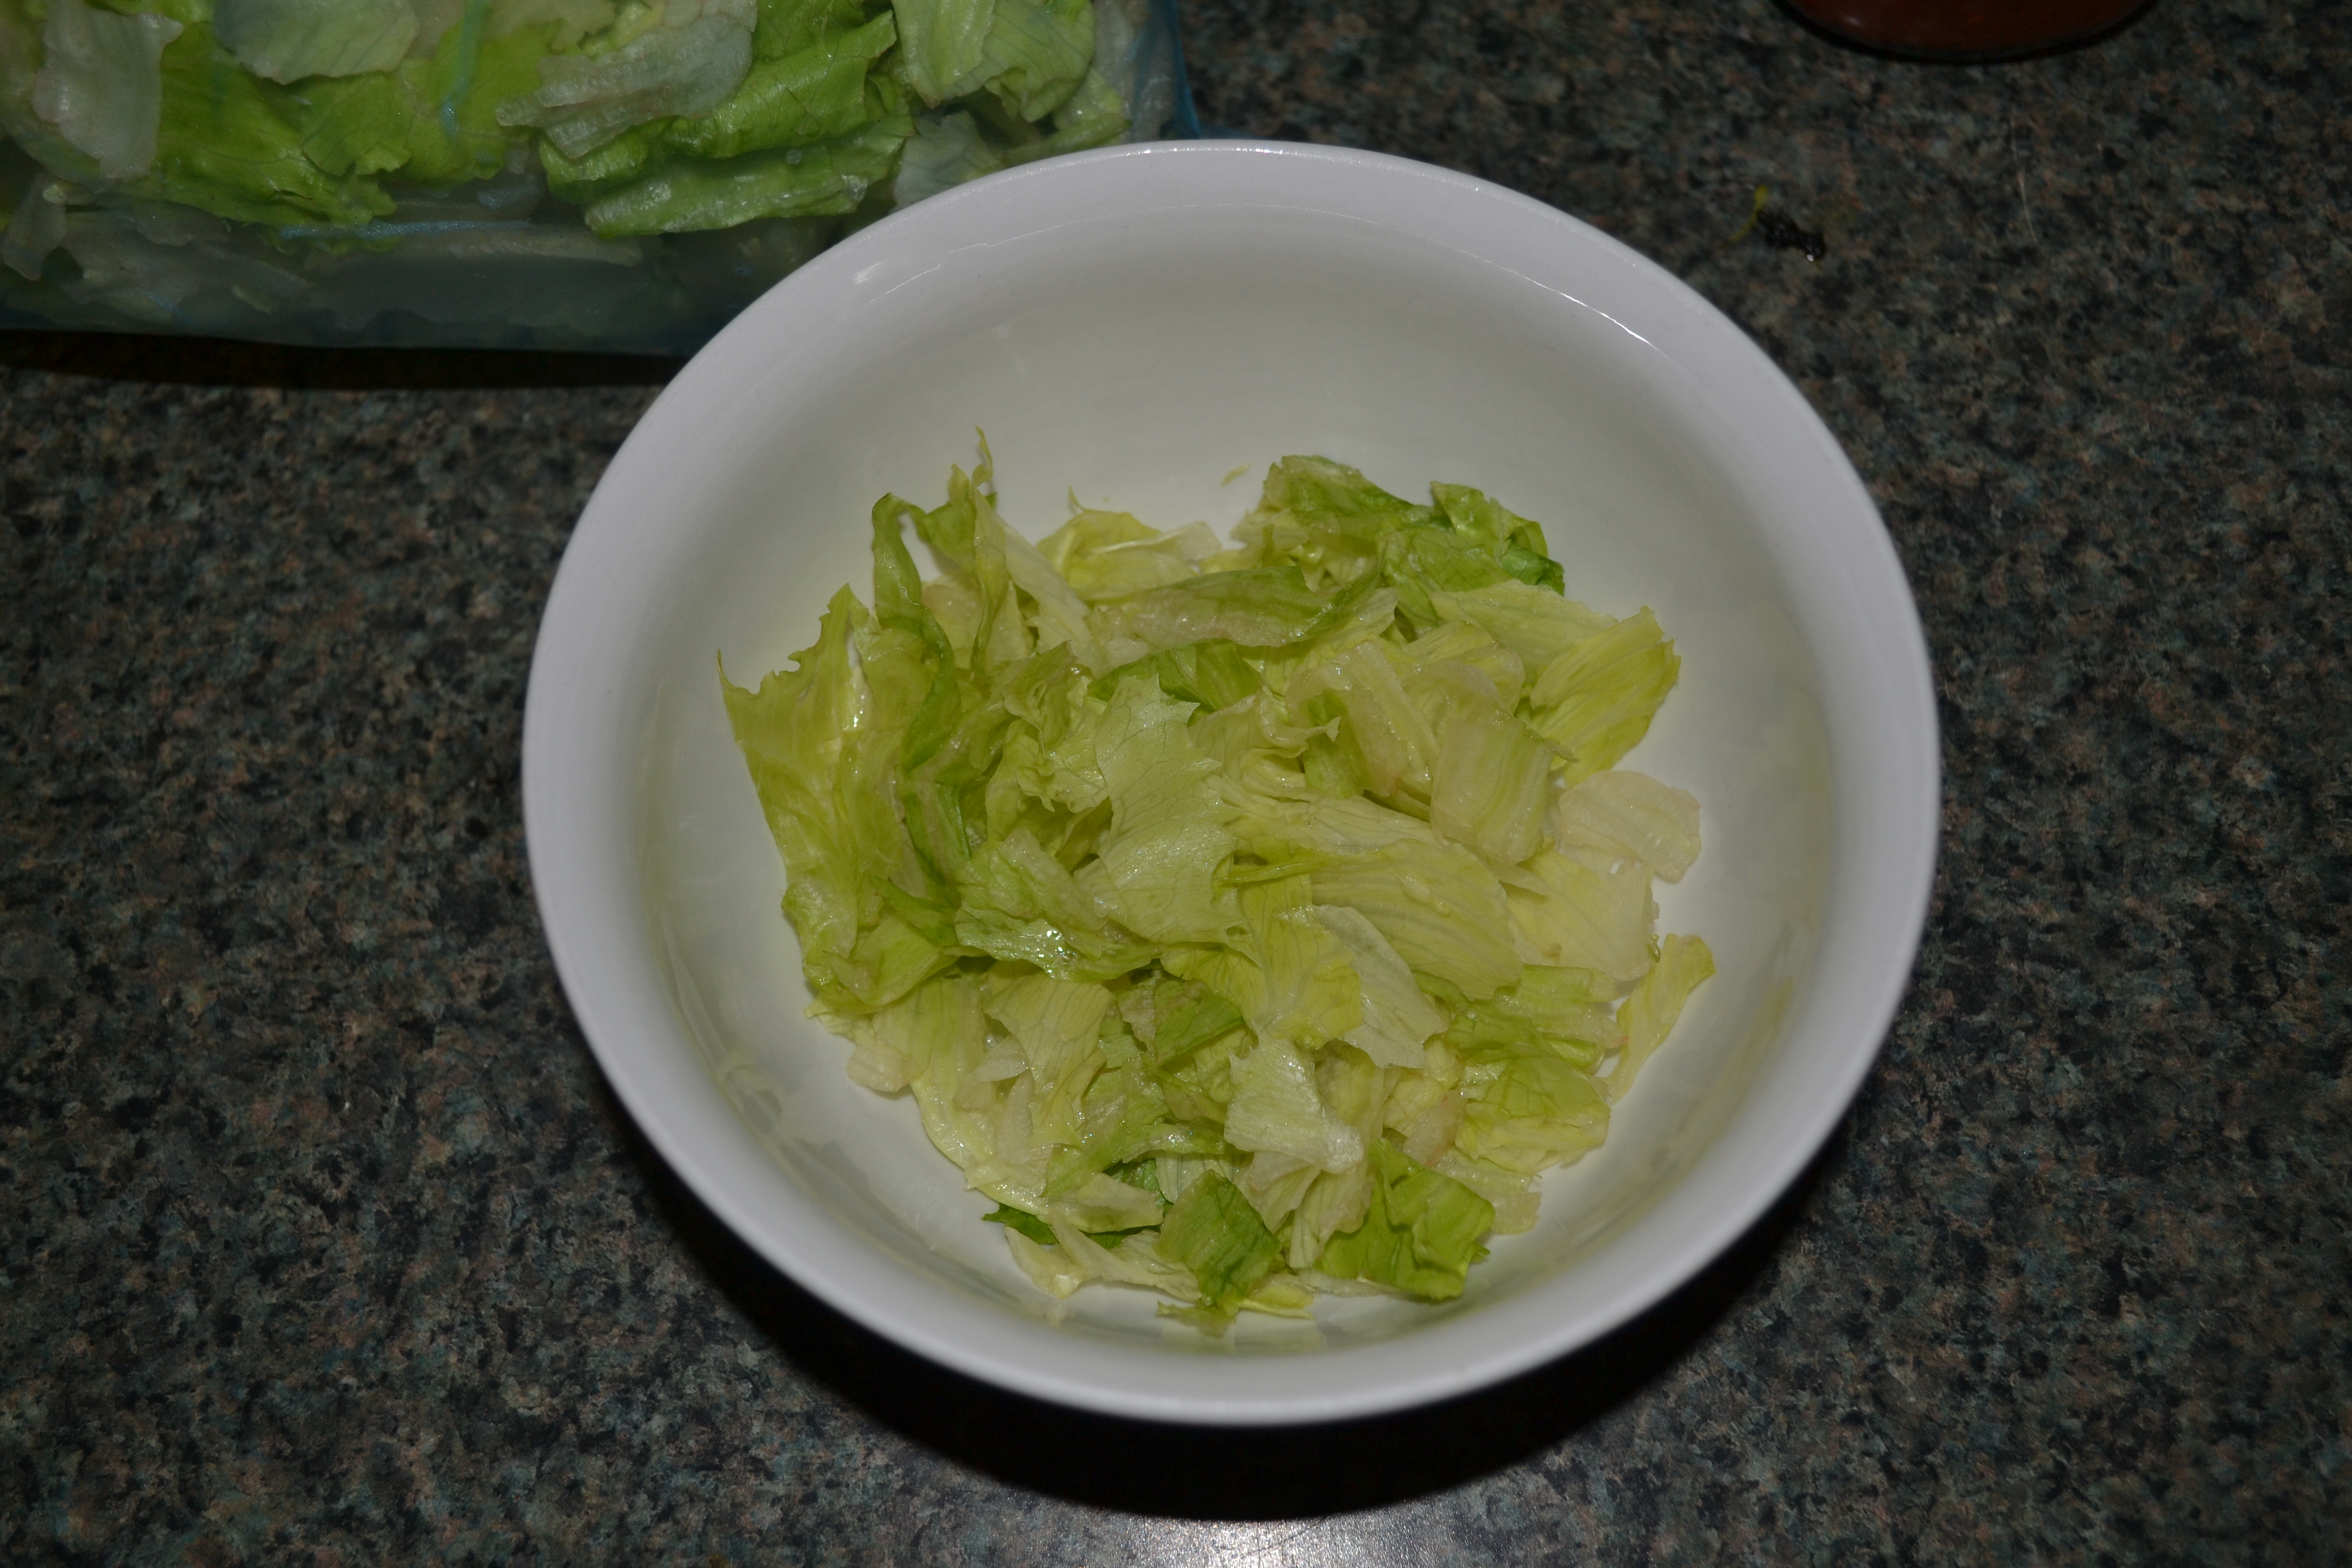 Lettuce
 Meat and Corn. Side note: beans would be great. Peppers if I wasn’t allergic. Olives. Any toppings! This is an anything goes taco salad.
 Cheese time! Load that baby up! I love cheese! The cheesier the better! And I’m sure my husband would say my jokes are the same way. But anyways….
Now you are going to add the “dressing”. You could add some spicy ranch from a bottle if you want. Remember it’s your salad. But I went with simplicity. I added a heap spoonful of sour cream and salsa.

Perfect Taco salad
Now you could eat this like a salad. But this is game day! And you aren’t a real football fan unless you are eating something with your hands and getting messy. So grab a fork to mix it all up and then put the fork in the sink. Now grab some tortilla chips and scoop away!