Deschooling

Deschooling is an important step when transitioning from regular school to homeschool. You need that time to relax and get out of the mind frame that homeschooling doesn’t have to be like a classroom. You don’t have to cover all of the subjects everyday and you don’t have to learn in the form of worksheets and test. You don’t have to leave a paper trail to show progress or accomplishments. Learning should be free and hands on. You should encourage your children’s interest and follow their questions to guide you along their learning path. Not some paper or book or professional that says at this age they should know how to do this, that and this and that.

Let me let you in on a little secret. I didn’t do anything that I just ranted and raved about! I have homeschooled for 8 years now. I took my kids out of school and went straight into workbooks and worksheets. We didn’t deschool. Our lessons took precedence over the fun of schooling. Experiments got pushed to the back burner along with field trips and fun. And I mostly think this is why my oldest rebelled. And why ultimately she went back to school.

So why haven’t I posted anything about schooling for the last 3 months or so. Well…..because I finally realized that we needed to deschool. We needed to relax and take a step back. And find our path that we are meant to be on. And that we did.

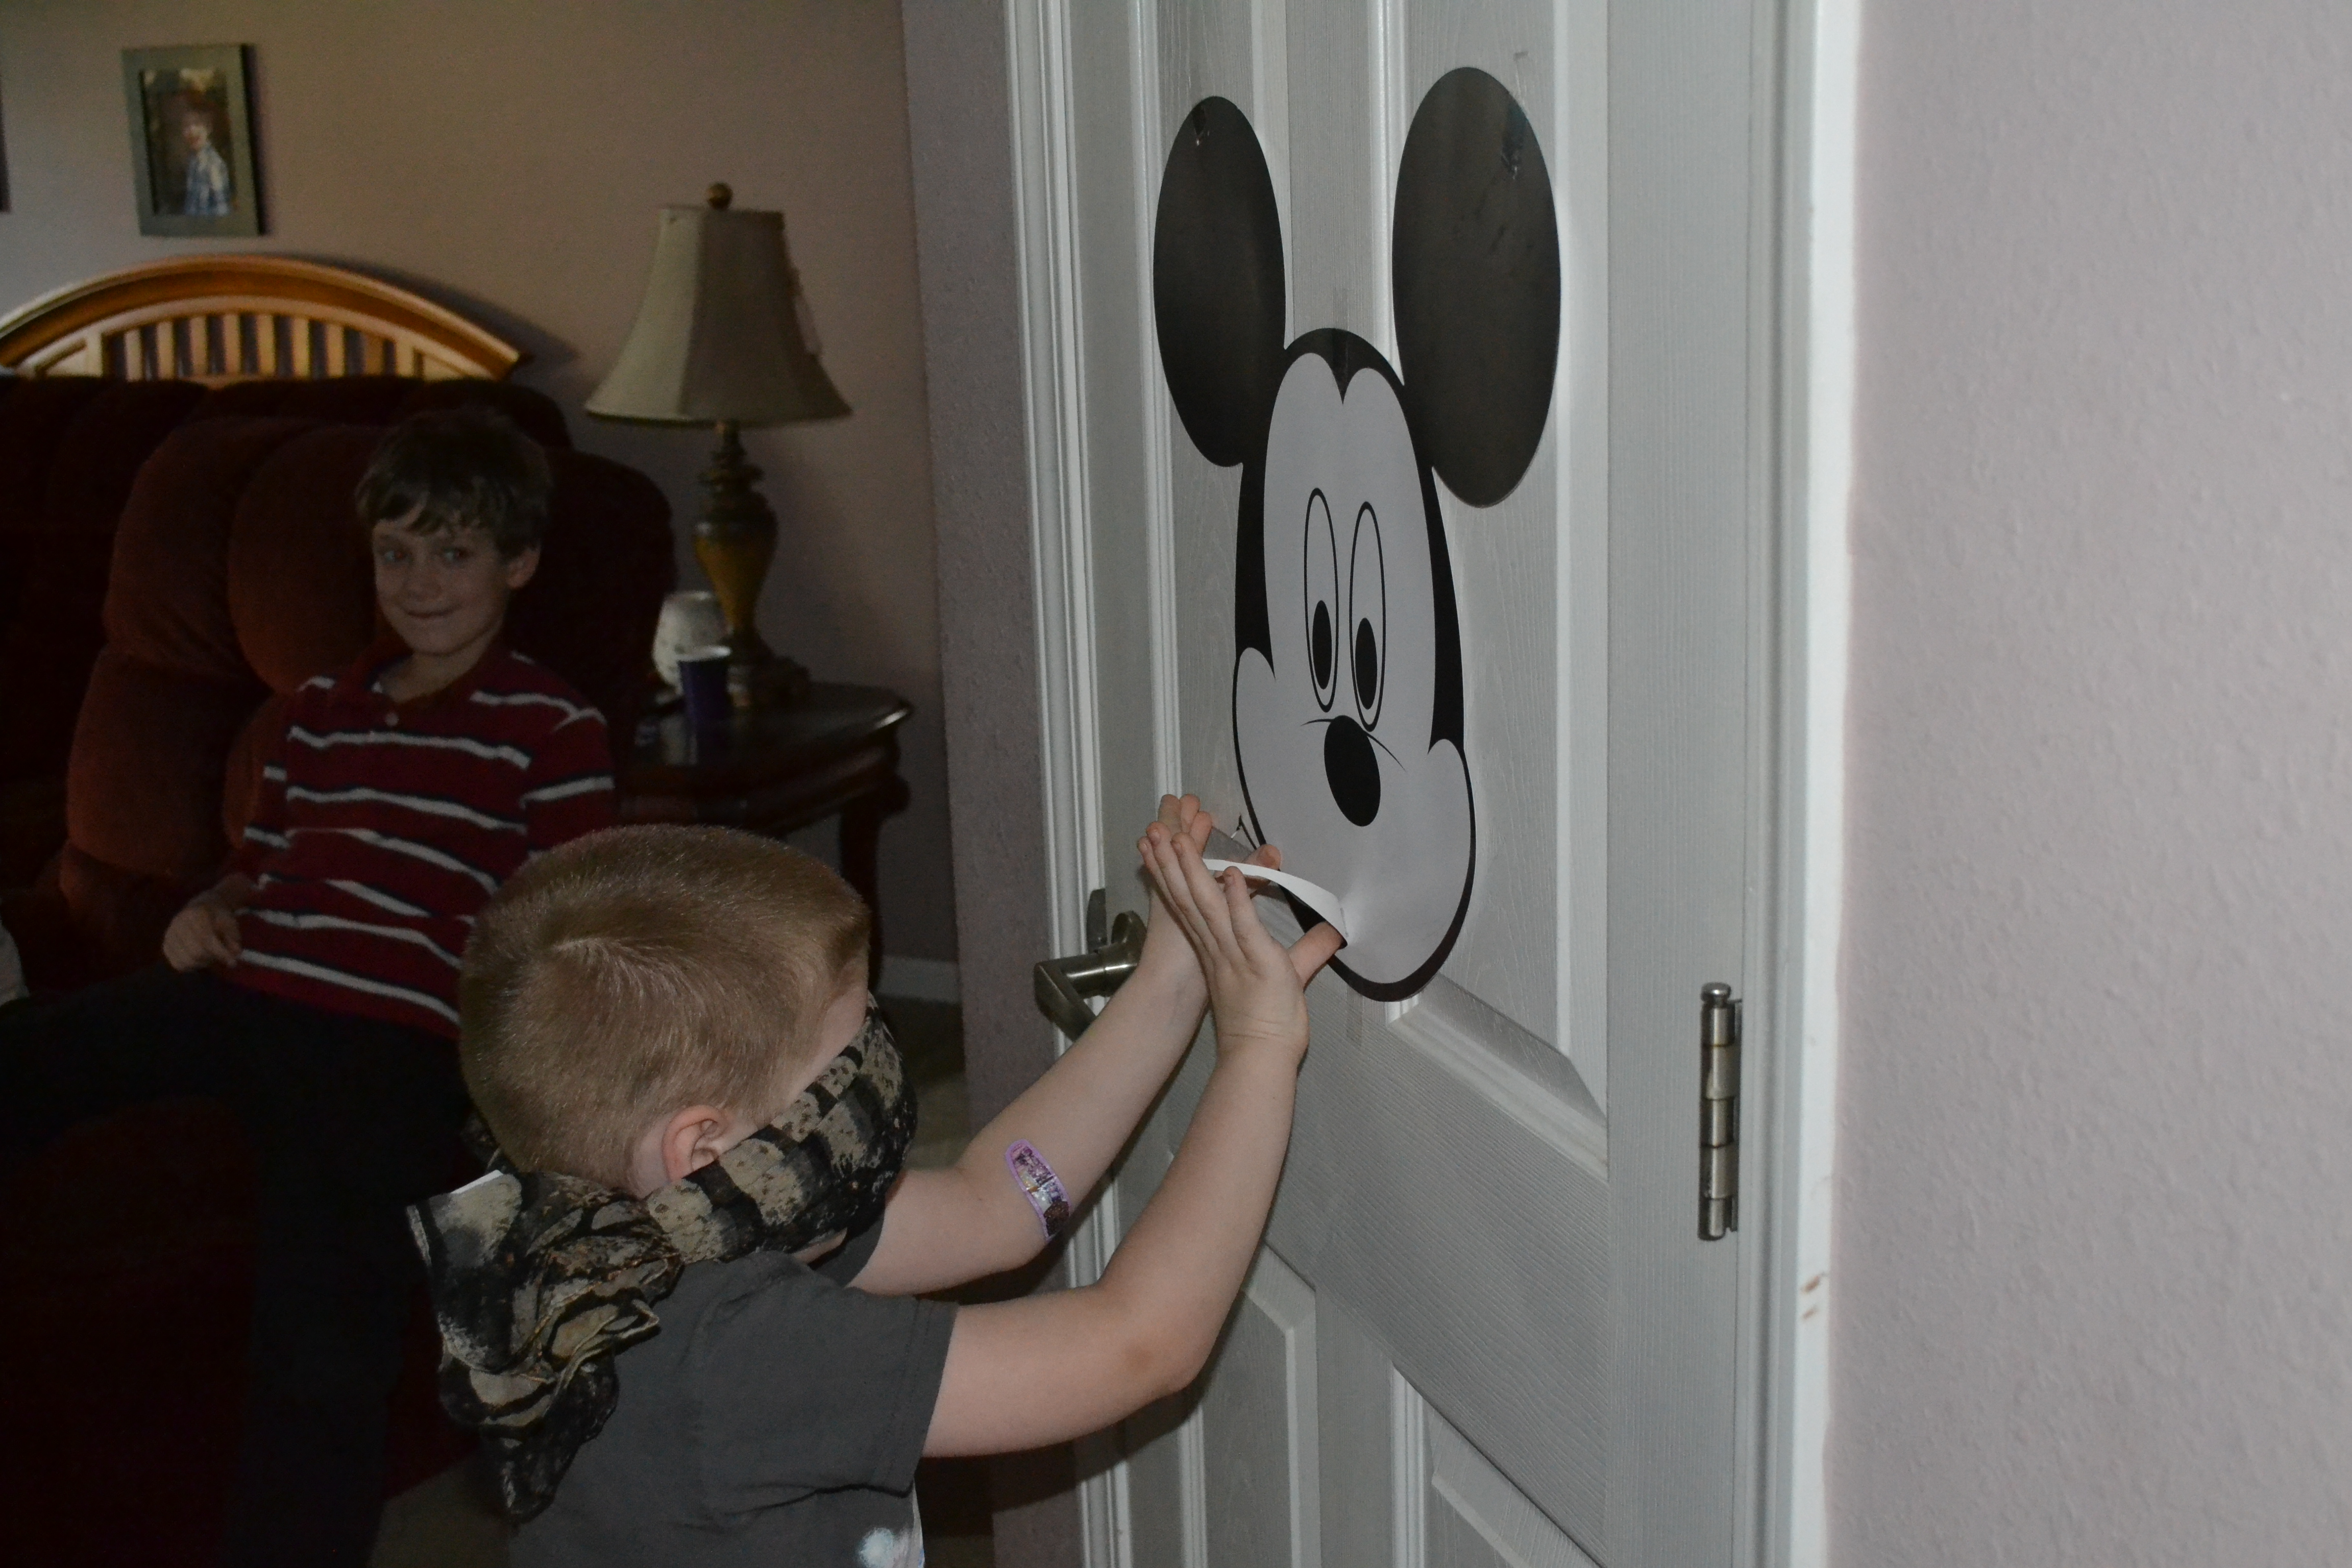
We watched movies. We read books. We played. We went to Disney. We cooked and had lots of holiday fun. We played video games. And we relaxed! Plus we also took many opportunities to ask questions and look up the answers. In fact, they ask so many questions at moments when we weren’t near a computer that my daughter started carrying pen and paper to write them all down.

But we were still learning. We also talked about where we wanted our homeschool path to head.

But more importantly we lived by the motto of Live, Laugh, Love.

DSC_0163DSC_0535DSC_0492

DSC_0110DSC_0262DSC_0493DSC_0494

DSC_0168DSC_0207DSC_0608


What’s Cookin’ Wednesday~ Quiche

Quick! You have a last-minute guest who is coming at a meal time. What do you fix?

This has happened to me. A family member of mine (*cough Aunt Jo, LOL) likes to wait until the last-minute to make plans. A couple years ago, we had talked about getting together on a certain day, but no solid plans were made. Luckily, I had done a massive stock up shopping so I was prepared when I got the text confirming that our get together was on.

Yes, you can always go out and pick something up. Or order pizza or sandwich trays from your local grocer. But nothing says welcome like a simple home cooked meal. My aunt offered to just pick something up, but why waste the money when I have everything here.

That day we were meeting around lunchtime, so I decided to do a brunch theme. I whipped up 2 quiches, a broccoli and cheddar and a bacon and swiss, and my famous (at least to my hubby) 15 minute fruit salad.

DSC_0238


Quiche is one of those dishes that looks complicated but really isn’t. And you can make it using whatever you have around the house. It is so versatile. Pick out your fillings and go.

Start with the crust. Now you can either make your own pie crust or just buy the refrigerated or frozen ones from the store. I actually used the refrigerated Pillsbury Pie crust this time. You just unroll it and place it in the pie pan. But I have been known to go all fancy and make the pie crust from scratch.

Once that is in the dish, move on to the filling. Cook, chop or whatever you need to do to the fillings now. In my case, I fried up some bacon, chopped some broccoli and grated cheddar and swiss cheese. Then I put a nice thick layer on the bottom of the crust.

Some more filling ideas~Caramelized Onion, mushroom and bacon (amazing!), Veggie (any and all kinds), Southwestern ( chicken, peppers and cheddar)


Next, mix up 3 eggs, 1 1/2 cups half & half, 1/2 tsp. salt and 1/4 tsp nutmeg. You can just use a fork to do this. No fancy mixers, it’s just a light mixing. Pour into crust.

Bake at 425 degrees for 15 minutes. Then turn down oven to 325 degrees and bake until set. You don’t want jiggle quiches. You want springy, so if you touch the middle it is firm but soft, like a sponge. I will say quiche baking time will vary based on the amount of fillings and how deep of a pie pan you have. I have some that have baked in 25 minutes and others that took 30-40 minutes. Just keep checking on it. And if the edge your crust starts getting too dark, put a little aluminum foil around it. Just make sure not to cover the egg filling.

The basis of this recipe came from Cooks.com and makes 1 9 inch quiche. For 2, like in my picture, double the recipe.


#DisneySide @Home Celebration


As everyone that has ever met me knows, I love Disney. I have been going to Walt Disney World as long as I can remember and have had an annual pass for about 20 years now. It is my first choice for a vacation spot. I have passed this love on to my children. Hubby is not so much on board with it. But the kids and I will go every chance we get.

Sadly, our passes expired in January and renewal is not in the budget for us right now. So you can imagine how excited I was when I got picked to host a #DisneySide @Home Celebration! Because I have mostly teenagers, I got the teen theme which was villians. This was perfect because we just got done watching Maleficient a million times and absolutely loved it!!

When our box full of goodies arrived, it was like Christmas all over again! There was so much fun stuffed into one box!

Goodies in our box #DisneySide @Home Celebration

Goodies in our box #DisneySide @Home Celebration

So we invited some of our closes friends and started partying!

My cake decorating daughters made and iced some cupcakes. We used the Duff Tye Dye cake mix that came in the box. But my daughters chose to use only the purple and green to represent Maleficient. Then we let everyone go to town decorating with the colorful sprinkles they provided.

DSC_0635

Cupcake Decorating #DisneySide @Home Celebration


Then the kids were off to play various games. The Maleficient nail polish was a big hit with the teenage girls. But not so much the bracelet maker. The pictures were to kiddie for them. And not all of us had an I-phone or I-pad to download the app. So the girls had fun making bracelets for the little ones.

Some of the games were a little too kiddie for tweens and teens. Bingo was basically just a game of who can yell Bingo the fastest because everyone got Bingo at the same time. Wordsearch and Matching the quote to the ride was a big hit also.

DSC_0637

My youngest loved pin the smile on Mickey. #DisneySide @home Celebrations


I worried about the pin the smile on Mickey. Because come on they are teens! But it was perfect for the younger siblings in attendance and surprising some of the older ones wanted in on the action too. We also added in a Beat the parents game~ Disney edition, which ended up being older kids vs younger kids, and some Disney Infinity 2.0 fun.

DSC_0636

And older kids too! #DisneySide @Home Celebration


Overall, it was a lot of fun! We got to see some friends we haven’t seen in forever and had some great activities to keep the kids busy.


Disclosure: I have received free products in order to host a Disney Side @Home Celebration. The opinions expressed here are my own.

Don’t rush! Building a homestead takes time.

It’s been about a year that I have become interested in homesteading. I mean I have always said I wanted a farm or ranch, but 2014 was the year that I really got involved and learning about the hows and whys.

This time last year, I thought, I’m going to get some chickens and throw some seeds in the ground and there will be my farm.

UM…..NO! Doesn’t work like that.

My chickens have had illnesses and injuries. I have also had to do things to heal them that I never thought I would ever do. (Hello, bumblefoot surgery!) I also ran out and bought 12 chicks without having a plan for a coop.

And guess what my seeds didn’t grow very well. In fact nothing did! All of my plants would start off strong and then stop. My dirt is mostly sand and not enough nutrients.

I started off thinking that for 2015 I would expand. I would get some pigs, ducks and anything else I could convince my hubby to let me have. I would double the garden and eventually have enough to feed us and sell.

But in the last few days of looking at my garden, I realized I needed to take a step back. None of those dreams are going to be possible without a little research and preparations.

So I readjusting my goals for the year.

  1. Add a few more chicks (layers) and add some ducks.
  2. Tear up the majority of my garden and start working the dirt. I am getting some worms and adding compost and other nutrients.
  3. Start composting! Build a compost bin.
  4. Research caring for pigs, find a butcher and locate local organic feed.
  5. Try to go back to basics on as much as possible (food, cleaners, and hygiene) and continue to remove all GMO products from our house.

Don’t try to do everything at one time. Take the time to research and know what your doing and why your doing it. In the long run, you want to become self sufficient and time is your friend. Because the more you rush, the more screw ups you’ll have and the more money you would’ve wasted. Eventually not seeing progress and seeing money fly down the toilet will make you want to give up and quit.

Roosters~love them or eat them


DSC_0094

Let me start by saying I am by no means an expert. This is my first year raising chickens. But in that years time, I have learned a lot.

I got 12 chicks total. Not knowing what they were; male or female. Two didn’t survive and I was left with 10 that thrived.

Out of those 10, I ended up with 3 males and 7 females.

Our first confirmed male, Speckles, got rehomed really quick because he was beating up my girls pretty bad. That is something you don’t want. You want your girls relaxed and comfortable and safe in their home so they can lay eggs comfortably. Under the constant stress, the chances of eggs go down. They will not lay to their full potential, which I know for most folks is the whole purpose of owning chickens. Plus beating up my baby girls to point of drawing blood was not cool with me.


Here are my 2 roosters that I have left.

Lil Baby~ light brahma rooster

Lil Baby~ light brahma rooster

Ninja~Frizzle Cochin

Ninja~Frizzle Cochin


Pros of having a rooster:

  • Protects your flock when free ranging.
  • Gives you fertilized eggs, which then gives you babies (YAY!)

Cons of having a rooster:

  • Can be rough with your girls or the other roosters. We had an incident which may or may not have been a fight between the two roosters. One was pretty badly beat up and I thought I was going to lose him but he pulled through.
  • Can become aggressive with you or your kids. I have one rooster who likes to chase my one daughter. She is special needs so I don’t know if he has picked up on that, but it’s only her, never me or anyone else. And when they kick at you it hurts. Especially with those nails.
  • Can be very skittish and not real lovable. Even as chicks, they ran and hated being picked up. And now they steer away from us and are not very friendly at all.
  • Do not follow directions at all (typical MAN!). If I shake the worm bag or call the chickens, all of the girls come right away. The boys not so much and we end up having to trap them into running into the enclosed area. Too much work!

Now the next reason can be a pro or con depending on the type of person you are. I personally love to hear them crowing. But others might not. I will say mine start between 4-5 am. BUT I can’t hear them in my room and neither can my kids. So it doesn’t bother us. Others might not be so happy with that.

While most people would say eat them. I am not that brave or experienced yet in butchering one of our own chickens. And I highly doubt that I can find someone to come out and butcher just one. I am not at all against it. I am hoping to add some meat birds later on down the road. But one step at a time. If you are experienced or knows someone who is, then butchering could be an option for you.

I am on the fenced about getting rid of Lil Baby. He is the trouble maker and he is the one that dislikes my daughter. She loves being with them. So most likely I am going to try to trade or sell him.

So my conclusion is a rooster is not necessary, but some people like them while others don’t. I don’t see Ninja going anywhere. He is the sweetest little thing I have ever seen. So much smaller than a normal rooster; probably a bantam. And just keeps to himself and treats the girls very nicely. I most likely won’t have fertilized eggs anymore, but that is a price I will pay. I can always order more chicks or go to local feed store!

DSC_0236

So tired

DSC_0237

So very very tired

DSC_0238

I’m awake!

DSC_0235

Darn wind!


Lowe’s Build and Grow Workshops

A little over a year ago, my hubby started taking Lil’ Man to our local Lowe’s for the build and grow workshops. It is usually one Saturday a month. And it really provides a lot of fun and skill building time for the little ones or big ones.

Our first time they gave Lil’ Man an apron, safety goggles and a name tag. Each time you go you will receive a certificate and an iron on patch. You borrow a small hammer and they give you everything you need to make whatever it is you are making that day. It’s awesome!

DSCN2225

Our first building experience


And did I mention it’s fun, easy and FREE!? Yes, it’s completely free. You’ll want to go to the Lowes Build and Grow site. There you will see the date for the next workshop, what you are building and when sign-ups open. Signing up early is very important because these fill up fast. Sometimes you can just show up and wait until all the register participants have shown up and see if any are left. But registering is a less than 5 minute task and easy.

Next workshop is Saturday, February 14th at 10 am. Sign ups open February 2nd. And your child will be making a sweetheart picture holder.

Future project looks to be a Monster Truck.

Have fun and enjoy!

Hello 2015!!

New year 2015


I know I am a little late, but honestly I don’t start my new year resolutions until after my birthday on the 5th. Why deprive myself of cake and celebration!?! I made it another year and, dang it, I earned that slice of cake!

So my new year starts when winter break is over and normal life resumes. Well as close to normal as this bunch can get.

I have thought about my new year’s resolution for sometime now. Months actually! I feel like 2014 was my year to find myself. I found out that I have a passion for homesteading that I never knew was there. And not only homesteading, but natural living, without all the chemicals and medications. I like being able to keep my family healthy without the use of antibiotics or over the counter drugs. I like cooking from scratch and knowing what is going into my food and that the items are of the best quality that I can find.

But there were many areas that I floundered at. I don’t want to say fail because that is so negative. I feel like I never failed. I may not have put my best effort in to them, but I never failed, so floundered is the perfect description.

So here they are my resolutions:

  1. Learn more and love life~ Enjoy it, every minute! I noticed my anxiety has flared up a little bit and I want to get a handle on it better so I can accomplish this task. Just get healthier in general. I see too many family members fighting different diseases and I don’t want that. I wanna be around for a long, long time.
  2. Expand our homesteading. I would love to get where we can raise our own meat and add some more egg layers to our little flock. Ducks are coming only because they are so cute!
  3. Separate myself from the negativity. Too many times I let other people’s life choices stress me out and worry me. Yes, they are my family and I love them, but they are not my immediate (in my household) family and those are the ones that need my guidance and attention. So I am going to learn to Let it go! (cue Frozen song here)
  4. Blog more and interact with more bloggers. Expand this and possibly make a business that will thrive and I can be extremely proud of.
  5. Spend more time with my kids. This year my oldest is turning 18!!! How did that happen I have no idea?!? But I feel like I blinked and her childhood was gone. So I am using that as an eye opener and cherishing every moment I have left with them all.

To help me with these, I will probably set little mini goals each month. I seem to do well with a to do list type thing. Sometimes I get so busy with just the everyday stuff that I look up and a whole month has gone by. I would like to try to slow down a bit and that is my overall theme of the year.

Slow down and enjoy being me!

My Favorite Childhood Holiday Cookie: Pecan Balls

DSC_0476


Growing up my mom wasn’t around a lot, so my memories of traditions are very few. But one thing I do remember is these amazing little bite size cookies. I couldn’t get enough of them. Well one year my mom decided that I was too old and stopped making all the cookies and holiday feast. It all fell on me. I searched every cookbook looking for a pecan ball recipe. What I didn’t know until I got this beautiful thing called internet is that they are actually called Mexican Wedding Cakes.

Then it took quite a few years to perfect the recipe to how I remember them tasting. Now it has become a tradition with my kids and they know it is not Christmas without this cookie! I even got my picky lil man to try them this year and it was instant love.

I really hope you enjoy this cookie as much as my family does.

Mexican Wedding Cakes

  • 1 cup butter, softened
  • 8 tbs confectioner sugar, plus more for rolling in
  • 2 cups all purpose flour
  • 1 1/2 – 2 cups chopped pecans
  • 1/2 tsp vanilla


Preheat oven to 350 degrees. Mix all ingredients except pecans with a mixer until well blended. Add pecans and mix.

DSC_0471

I used my smaller cookie scooper on these because I like them to be 1-2 bite size. Scoop and roll dough into round small balls. Place on lightly greased baking sheet.

Pecan Balls

As you can see I put a lot on one sheet because these cookies don’t spread, they hold their form. I managed to get on batch on one sheet. They do puff up a little so you may have a few that are touching but nothing you can easily pull apart.

Bake for 11-12 minutes.

Pecan Balls

As you can see they look almost the same after baked. So you have to do a touch test. You want them a little firm and a very light coloring.

Cool completely then roll in additional confectioner’s sugar. Now if you are like me who absolutely does not wait until they are cool completely; then you will have to roll them again in a day or so. If they last that long!

Pecan Balls

Enjoy!


December Preschool

DSC_0436

The holidays are here along with the hustle and bustle. This time of year always throws off our homeschooling schedule. I just have way too much cooking and shopping to do. Along with all the fun holiday activities! There is visiting Santa, Christmas crafts and baking, visiting fun holiday places and watching all those movies. So why not make that a part of homeschooling. I know I learn something new every year, so I am sure your kids will too. Plus your kids are only young once and you want to enjoy these little memories before their too big and too cool to hang with you. Believe me! I know!

Activities planned for the month:

  • Elf on the shelf
  • Putting up our tree
  • Visiting Santa
  • Mailing a letter to Santa
  • Baking Cookies
  • Pinecone Painting
  • G is for Gingerbread~ Gingerbread paint, making gingerbread men or house
  • Learn about reindeers
  • Poinsettias
  • National Cocoa Day~ measuring and mixing (that’s math people!)
  • Grinch day~ Learn about kindness. Pin the heart on the Grinch and grinch juice as a snack. Plus watching old and new version of the movie.
  • Candy Canes~ Cane Hunt, Playdough, Paint and erupting Candy canes
  • Polar Express PJ Party
  • 1st day of Winter
  • Snowball Fight and Homemade Snow Fun
  • Advent Calendar
  • Walt Disney’s B-day December 5
  • New Year’s Eve


Field Trips planned:

  • Disney World~ At Hollywood Studios, they have an amazing light display called the Osbourne Family Lights. It is the best display I have ever seen. And, of course, the lighting of the castle at Magic Kingdom. This year Elsa, Anna, Kristoff and Olaf are lighting the tree. Very exciting!
  • Park
  • Florida Aquarium
  • Lowry Park Zoo
  • Lowes for the monthly building activity
  • Looking at Christmas lights

Because it’s a busy month, I haven’t planned out everyday. I just made a list and when I need an idea I search through and grab the ones that appeal to me that day.

For more ideas visit my pinterest boards. Christmas Activities for school and December preschool lessons

I also have a Christmas board that has a lot of Elf on the Shelf ideas and Advent Calendar activities.


Turkey Casserole

Turkey Casserole

So the holiday is over and your all turkey sandwiched out. But you still have turkey leftover. Well this recipe is the perfect use for it. It has all the flavors of Thanksgiving in one dish. (Well maybe not the pumpkin pie, because that’s taking it too far! Just put that one on the side.) And it is so adaptable to what you have in the house so don’t worry about running out and buying ingredients.

I found this recipe many years ago on Food.com, but you know how I like to change things up. So here is our version of it.

Turkey Casserole

2 tsp Grapeseed oil or coconut oil

1/3 cup minced onions

2 Tbs white wine

1/4 cup flour

1 2/3 cups heavy cream, 1/2 and 1/2 or milk

2 cups chicken broth

1/2 tsp thyme dried or fresh (chopped)

1/2 tsp sage dried or fresh (chopped)

1/4 cup cream cheese

10 oz bag of egg noodles

1/3 cup shredded mozzarella

3 cups chopped turkey or chicken

1/3 cup seasoned breadcrumbs (or use leftover stuffing or a mix of both)

1/2 tsp salt

1/4 tsp pepper

1) Start cooking your noodles as package says. Keep an eye on them and drain when their done.

2) In a sauce pan, cook saute onions in oil over medium high heat for 1 minute. Add wine and let it cook out for 1 minute.

3) Add flour (use a little at a time; if you don’t need the full 1/4 cup don’t worry about it.) and stir for 2 minutes.

4) Slowly add milk, broth, thyme, sage, a sprinkling salt and pepper and cream cheese; stir and cook until creamy and combined.

5) In a large bowl, combine turkey, noodles, mozzarella and sauce.

6) Preheat oven to 375 degrees.

7) Spoon into greased casserole dish.

8) Time for the topping. This is totally up to you. Do you have a lot of left over stuffing? Then use that. Do you have a little bit but not enough? Combine with seasoned breadcrumbs. No stuffing at all? Use the seasoned breadcrumbs only, but I like to add a little dried marjoram, sage and thyme to add more of the stuffing taste to it.

9) Add topping, and sprinkle with some salt and pepper.

10) Bake for 30 minutes or until bubbly.

Now this is exactly how I serve it because sometimes I think I am living with a house full of toddlers. No one wants their veggies. Including my hubby! (SSHHH but he is the worse.)

So if it was just me and my girls. I would at the beginning saute some chopped mushrooms with the onions and switch my oil to butter. Also cut my turkey back to maybe 2-2 1/2 cups, since we added mushrooms.

And I would also add peas in before you mix everything up. Or you could even use green beans. Maybe leftovers depending on how they were made. We had green bean casserole so that won’t work this year. But if you got regular cooked green beans; drain and add them in.

Honestly, the plain ol’ version my family likes is okay by me too. It has a home cooked feel. Something about the flavors just scream warm and fuzzy. Try it! You will understand what I am talking about.